What Is an Angle Stop in Plumbing?
Understanding the parts that make up your home’s plumbing can save you money, stress, and serious water damage. One small but essential component is the angle stop — a valve most homeowners walk past every day without a second thought, until a fixture starts leaking and they suddenly need it. Knowing what an angle stop is, how it works, and how to maintain it puts you in control during both routine repairs and plumbing emergencies.
This guide explains what an angle stop is, the different types available, how to install one step by step, and the common problems to watch for.
What Is an Angle Stop?
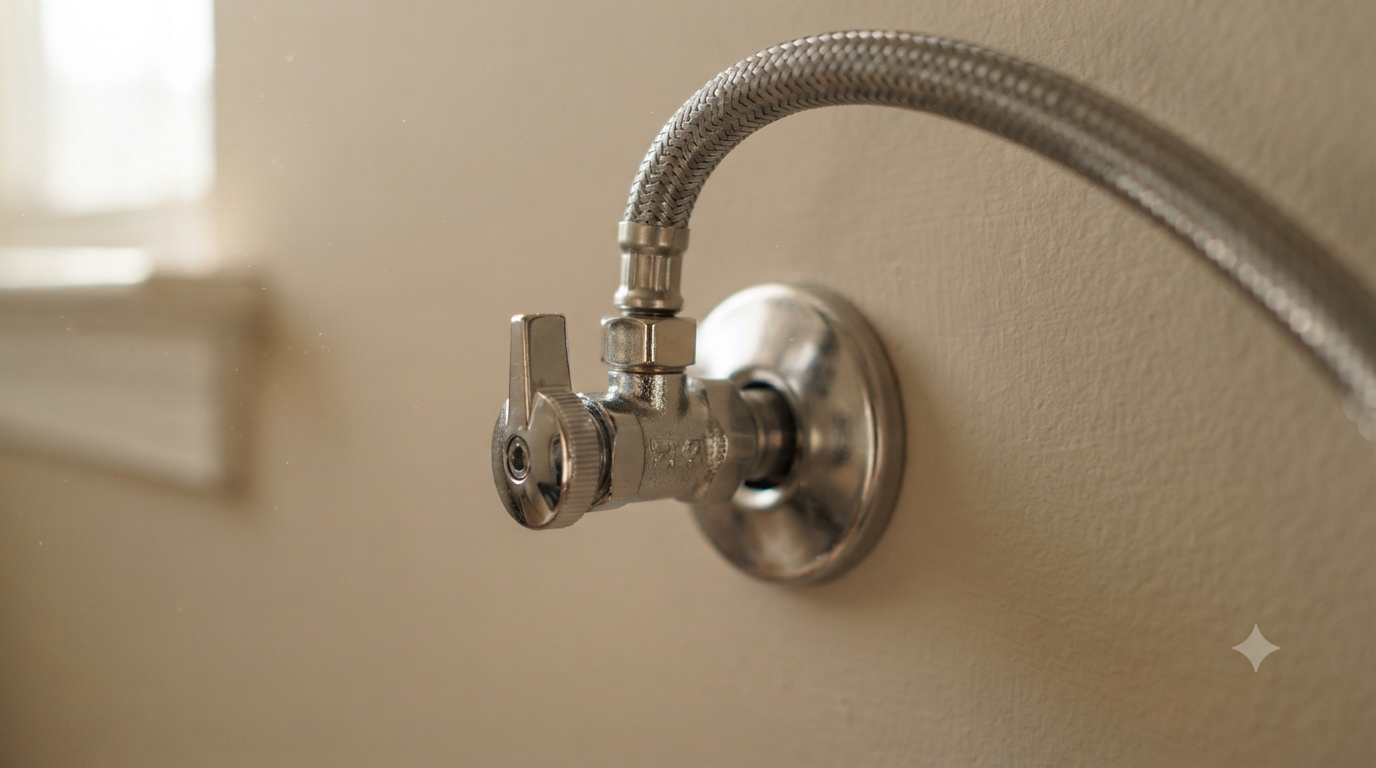
An angle stop is a small shut-off valve that controls the flow of water to an individual fixture, such as a toilet, sink, faucet, or dishwasher. It gets its name from its shape: the valve turns the water supply on or off at a 90-degree angle, redirecting flow from the wall or floor supply line up to the fixture.
Its greatest advantage is isolation. When you need to repair a leaking faucet or replace a toilet fill valve, an angle stop lets you shut off water to that one fixture without cutting off the entire home’s water supply. That single feature makes angle stops one of the most practical valves in your whole plumbing system.
Definition and Purpose
At its core, an angle stop connects the water supply line coming out of the wall or floor to the flexible supply tube that feeds the fixture. Its purpose is simple but critical: give you a fast, localized way to stop water flow. This is invaluable during repairs, upgrades, or the moment you discover a leak and need to act before water spreads.
Because angle stops feed the fixtures you use most — toilets, bathroom and kitchen sinks, and appliances — a functioning angle stop is your first line of defense against a small drip becoming a flooded room.
How It Fits in Your Plumbing System
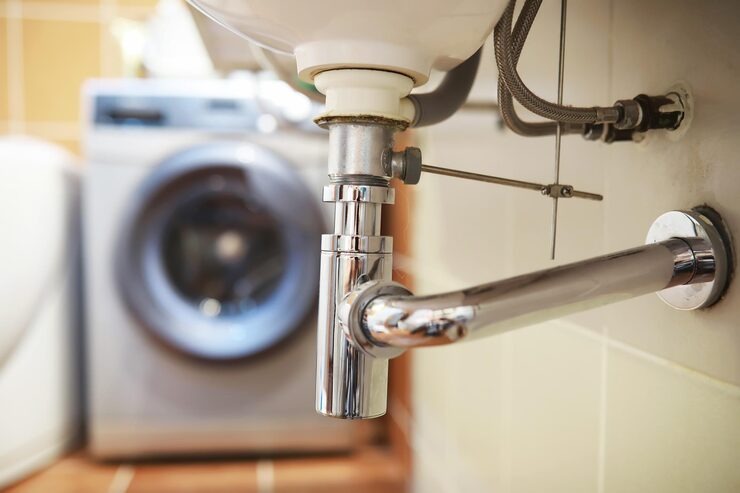
Angle stops are installed at the point where the water supply line emerges from the wall and meets the fixture. You’ll typically find them tucked under sinks (often right beside the P-trap) or behind toilets, positioned for quick access. Most fixtures have two: one for the hot supply and one for the cold.
Types of Angle Stops
Angle stops come in two main varieties, and knowing the difference helps you choose the right one when it’s time to replace.
Multi-Turn vs. Quarter-Turn
Multi-turn valves use a compression-style mechanism and require several full rotations of the handle to fully open or close the water. They’ve been the standard for decades and offer fine control over flow.
Quarter-turn valves use a ball or ceramic disc inside and need only a single 90-degree turn to go from fully open to fully closed. They’re faster to operate and generally more reliable over time.
Pros and Cons of Each
- Multi-turn: Gives you more gradual control over water flow, but the rubber washers inside wear out, making these valves more prone to leaks and seizing after years of sitting unused.
- Quarter-turn: Quick, dependable, and far less likely to leak or freeze up, though they trade away the fine flow adjustment. For most modern installations, quarter-turn is the preferred choice.
If you’re replacing an older seized valve, upgrading to a quarter-turn model is usually well worth it.
How to Install an Angle Stop
Installing an angle stop is a manageable DIY project for a confident homeowner, though the same steps apply whether you’re doing it yourself or checking a plumber’s work.
Tools and Materials Needed
- Adjustable wrench
- Pipe cutter
- Compression fitting (or the correct threaded angle stop)
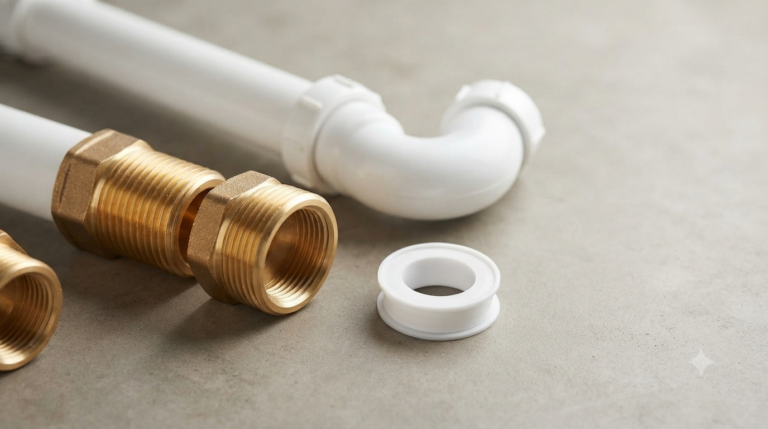
- PTFE (plumber’s) tape
- A towel and small bucket to catch residual water
Step-by-Step Installation Guide
- Shut off the main water supply to the home to prevent flooding while you work.
- Drain the line by opening the fixture’s faucet to release remaining pressure and water.
- Remove the old valve. Disconnect the supply tube, then use a pipe cutter to cleanly remove the old valve if it’s soldered or damaged.
- Prep the connection. If your angle stop threads onto the pipe, wrap PTFE tape clockwise around the male threads to create a watertight seal.
- Attach the new angle stop using a compression fitting, sliding the nut and ferrule onto the pipe before seating the valve.
- Tighten the fitting with an adjustable wrench — snug and secure, but not overtightened, which can crack the fitting.
- Restore the water and test. Turn the main supply back on, open the valve, and carefully check every connection for leaks before considering the job done.
A quick tip: the supply line material behind your wall matters. Homes with copper, PEX, or CPVC lines may require a specific type of angle stop or fitting, so confirm compatibility before you buy.
Troubleshooting and Maintenance
Like any valve, angle stops wear out — and because they’re used so rarely, problems often go unnoticed until you actually need them.
Common Issues and Solutions
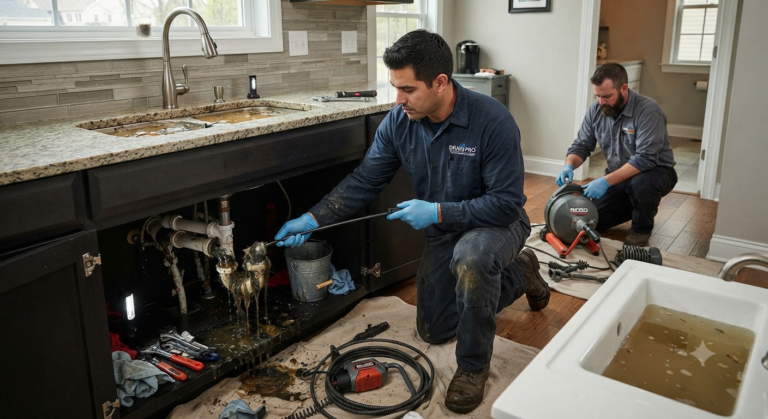
Corrosion, mineral buildup, and worn internal washers are the usual culprits behind a failing angle stop. If you spot water pooling around the valve, green or white crust on the metal, or a handle that won’t turn, the valve likely needs attention. Minor drips can sometimes be fixed by gently tightening the packing nut, but a corroded or seized valve should be replaced rather than forced — cranking a stuck old valve is a common way to snap it and cause exactly the flood you were trying to prevent.
Many household plumbing leaks start at these connection points, so treating a weeping angle stop as an early warning sign can spare you a costly repair.
Regular Maintenance Tips
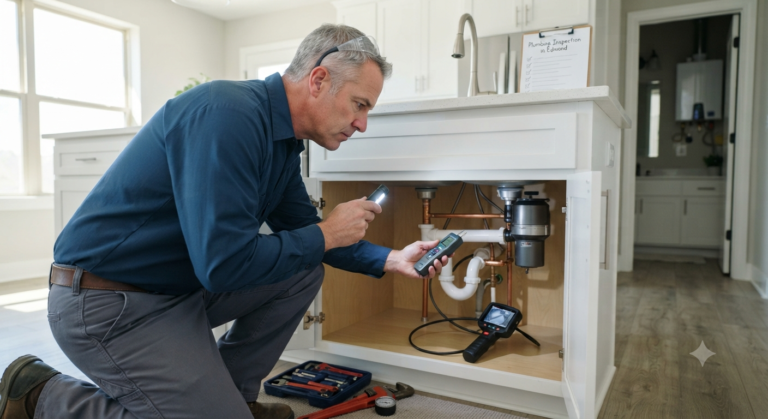
- Inspect for leaks periodically. A quick look under sinks and behind toilets a few times a year catches small problems early.
- Exercise the valve. Turn each angle stop fully off and on occasionally so it doesn’t seize from disuse — a frozen valve is useless in an emergency.
- Replace aging valves. Swap out corroded or hard-to-turn stops before they fail. This kind of proactive plumbing maintenance is far cheaper than repairing water damage.
Staying ahead of angle stop failures is one of the simplest ways to protect your home from water damage and avoid the expense of an emergency repair.
The Bottom Line
Angle stops are small, inexpensive, and easy to overlook — yet they play an outsized role in keeping your plumbing safe and serviceable. By understanding how they work, choosing quarter-turn valves for reliability, and inspecting them as part of your regular home maintenance, you give yourself a fast, dependable way to shut off water whenever a repair or leak demands it.
If an angle stop in your home is leaking, seized, or overdue for replacement — or you’d rather leave the job to a pro — the licensed team at Plumber in Edmond can inspect, replace, and upgrade your valves quickly and correctly. Reach out today for expert help.
Frequently Asked Questions
How do angle stops work? Angle stops control water flow to a single fixture through a 90-degree turn mechanism, letting you shut off that fixture’s water without affecting the rest of the house.
Can I replace an angle stop myself? Yes. With the right tools, the main water shut off, and careful attention to the installation steps, replacing an angle stop is a manageable DIY task. If your pipes are soldered or corroded, though, calling a plumber is the safer choice.
What are the signs of a faulty angle stop? Watch for leaks or water around the valve, visible corrosion or mineral buildup, and a handle that’s difficult or impossible to turn. Any of these means it’s time to inspect or replace it.
How often should angle stops be replaced? On average, every 8–10 years, though water quality and how often the valve is used canUnderstanding the parts that make up your home’s plumbing can save you money, stress, and serious water damage. One small but essential component is the angle stop — a valve most homeowners walk past every day without a second thought, until a fixture starts leaking and they suddenly need it. Knowing what an angle stop is, how it works, and how to maintain it puts you in control during both routine repairs and plumbing emergencies.