How to Solder Plumbing: A Complete Step-by-Step Guide
Soldering plumbing pipes is a fundamental skill for both DIY enthusiasts and professional plumbers. Mastering the art of soldering can save time, money, and ensure leak-free joints in your plumbing system. Whether you’re repairing a leaking pipe or installing new copper water lines, learning the proper soldering technique will help you create durable, watertight connections that last for years.
While soldering is one of the most common methods for joining copper pipes, it’s important to understand that not every plumbing system uses the same materials. Modern homes often include PEX, CPVC, and PVC piping, each requiring different connection methods. If you’re new to DIY plumbing, it’s helpful to first understand what plumbing is and how different pipe materials are used throughout a home.
Introduction to Soldering Plumbing
Benefits of Soldering in Plumbing
Soldering is the process of joining two metal components by melting a filler metal, known as solder, into the joint. As the solder cools, it forms a strong, watertight seal between the pipe and fitting. For decades, soldering has been the preferred method for connecting copper plumbing because it creates reliable joints capable of handling both hot and cold water under pressure.
Some of the key advantages of soldered joints include:
- Long-lasting durability
- Excellent leak resistance
- Strong pressure tolerance
- Cost-effective installation
- Reliable performance in residential plumbing systems
Although newer materials such as PEX are becoming increasingly popular, copper remains a trusted choice for many water supply lines due to its strength and longevity.
Tools and Materials
Having the right equipment makes soldering safer and significantly improves the quality of your work.
Essential Tools
- Pipe cutter
- Deburring tool
- Wire brush or emery cloth
- Flux brush
- Plumbing flux
- Lead-free solder
- Propane or MAPP gas torch
- Heat shield
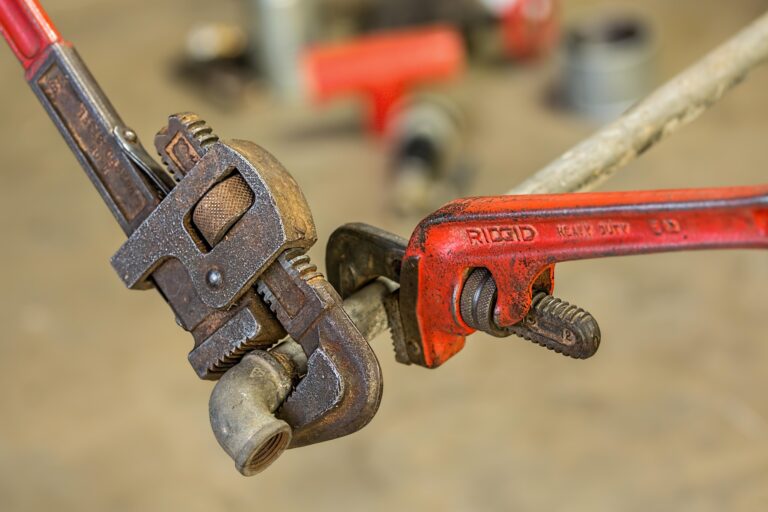
- Adjustable wrench
- Spray bottle of water
- Clean rag
Materials
- Copper pipe
- Copper fittings
- Lead-free plumbing solder
Always choose lead-free solder when working on drinking water systems, as it meets modern plumbing safety standards.
Safety First
Working with an open flame requires proper safety precautions.
Wear Proper Protective Equipment
Always wear:
- Safety glasses
- Heat-resistant gloves
- Long sleeves
- Closed-toe shoes
These items protect against burns, sparks, and molten solder.
Prepare Your Workspace
Before lighting the torch:
- Remove nearby flammable materials.
- Keep a fire extinguisher within reach.
- Place a heat shield behind the pipe if working near framing or drywall.
- Work in a well-ventilated area to reduce exposure to flux fumes.
Taking a few extra minutes to prepare your workspace can prevent accidents and improve the quality of your repair.
Step-by-Step Guide to Soldering Plumbing Pipes
Step 1: Cut the Pipe
Use a pipe cutter to make a clean, straight cut.
Avoid using a hacksaw whenever possible, as rough cuts create uneven joints that are harder to seal properly.
Step 2: Deburr and Clean
After cutting the pipe, remove any burrs from the inside edge using a deburring tool.
Next, clean:
- the outside of the pipe
- the inside of the fitting
Use emery cloth or a wire brush until both surfaces become shiny. Clean metal allows solder to bond properly.
One of the most common causes of solder failure is poor surface preparation. Even fingerprints or small amounts of oxidation can prevent solder from flowing evenly around the joint.
Step 3: Apply Flux
Apply a thin, even coat of plumbing flux to both cleaned surfaces.
Flux performs several important functions:
- Removes light oxidation
- Prevents additional oxidation during heating
- Helps solder flow evenly through the joint
Only apply enough flux to coat the surfaces. Excess flux can remain inside the pipe after installation.
Step 4: Assemble the Joint
Insert the pipe completely into the fitting.
Rotate it slightly while inserting to distribute the flux evenly.
Before heating, ensure the joint is fully seated and properly aligned.
Step 5: Heat the Joint
Light the propane or MAPP gas torch.
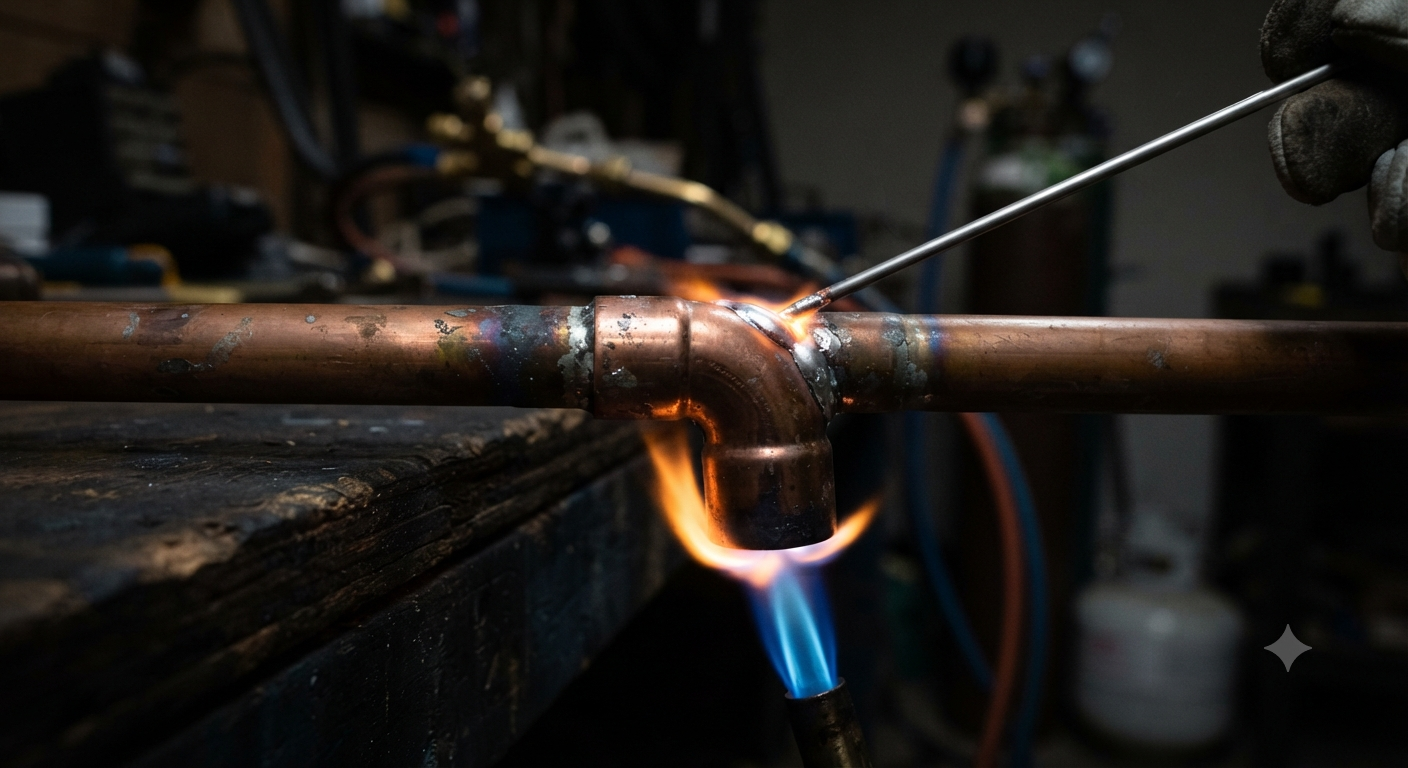
Instead of heating the solder directly, heat the fitting evenly while moving the flame around the entire joint.
The flux will begin bubbling, indicating the fitting has reached the proper temperature.
Avoid overheating the copper. Excessive heat burns away the flux and creates oxidation, making it difficult for solder to bond properly.
Step 6: Apply the Solder
Touch the solder opposite the flame.
If the joint is hot enough, the solder will melt immediately and be drawn into the fitting through capillary action.
Continue feeding solder until it forms a complete ring around the fitting.
Most residential copper fittings require approximately ½ to ¾ inch of solder.
Step 7: Allow the Joint to Cool
Remove the flame and allow the joint to cool naturally.
Do not move or disturb the pipe until the solder has completely hardened.
Once cool, wipe away any remaining flux using a damp cloth to help prevent future corrosion.
Inspect Your Work
A properly soldered joint should have:
- A smooth silver ring around the fitting
- No visible gaps
- No excess blobs of solder
- Uniform coverage around the entire connection
Before placing the plumbing system back into service, pressurize the line and carefully inspect every joint for leaks.
Common Soldering Mistakes
Even experienced plumbers occasionally encounter problems. Here are the most common mistakes to avoid.
Dirty Pipe Surfaces
Copper must be completely clean before soldering. Dirt, oxidation, grease, or fingerprints can prevent the solder from bonding correctly.
Overheating
Applying too much heat burns away the flux and causes oxidation, leading to weak joints.
Insufficient Heating
If the fitting isn’t hot enough, the solder won’t flow evenly throughout the joint, creating weak seals commonly called cold joints.
Moving the Joint Too Soon
Allow the solder to cool completely before touching the pipe.
Troubleshooting Leaking Joints
If a soldered connection leaks, the problem usually results from improper cleaning, uneven heating, or insufficient solder.
Rather than simply adding more solder, it’s often best to disassemble the connection, thoroughly clean both surfaces, apply fresh flux, and solder the joint again.
If your plumbing system develops leaks in multiple locations, the issue may extend beyond the soldered connection. Understanding what causes plumbing leaks can help identify whether corrosion, excessive water pressure, aging pipes, or faulty fittings are contributing to the problem.
Older copper plumbing systems can also develop tiny corrosion holes over time. Learning what causes pinhole leaks in copper plumbing can help you determine whether repairing or replacing the affected section is the better long-term solution.
Can Every Plumbing Pipe Be Soldered?
No.
Soldering is intended primarily for copper piping.
Modern plumbing systems frequently use PEX tubing, CPVC, and PVC pipes, which require entirely different joining methods.
If you’re planning a complete plumbing upgrade or replacing outdated copper lines, our guide on how to remodel plumbing explains when soldering is appropriate and when newer connection methods may be a better option.
Frequently Asked Questions
How long does it take to solder a plumbing joint?
Most joints can be completed in 15 to 30 minutes, depending on your experience and the accessibility of the pipe.
Do I always need flux?
Yes. Flux cleans the metal surfaces and allows solder to flow evenly throughout the joint.
Can I solder without a torch?
A soldering iron may work for small applications, but propane or MAPP gas torches provide the heat necessary for plumbing fittings.
How do I know if the joint is properly soldered?
A properly soldered joint has a smooth, continuous ring of solder completely surrounding the fitting without gaps or excessive buildup.
Can beginners learn to solder plumbing?
Yes. With patience, proper preparation, and practice on scrap copper, most homeowners can learn basic soldering techniques safely.
Conclusion
Learning how to solder plumbing pipes is a valuable skill for homeowners and aspiring plumbers alike. With the right tools, careful preparation, and proper heating techniques, you can create strong, leak-resistant joints that provide years of dependable service.
However, soldering is only one part of maintaining a reliable plumbing system. Regular inspections and preventive maintenance can help you catch small issues before they become costly repairs. Our guide on how to maintain home plumbing systems offers practical tips to keep your pipes, fixtures, and water lines in excellent condition year-round.
By following the steps in this guide and practicing safe soldering techniques, you’ll be better prepared to tackle copper plumbing repairs with confidence while extending the lifespan of your home’s plumbing system.