How to Remove Kitchen Faucet: A Step-by-Step Guide for Beginners
A leaking, outdated, or damaged kitchen faucet can waste water and make everyday tasks frustrating. The good news is that replacing or removing a kitchen faucet is a project many homeowners can complete with basic tools and a little patience. Whether you’re installing a new fixture or preparing for a sink upgrade, understanding how to remove kitchen faucet correctly can save time and prevent unnecessary plumbing problems.
This guide walks you through every step, explains common challenges, and shares practical tips to make the job easier.
Why You May Need to Remove a Kitchen Faucet
Kitchen faucets don’t last forever. Even high-quality models eventually wear out due to years of daily use.
Common reasons to remove a faucet include:
- Persistent leaks that cannot be repaired
- Corrosion around the faucet base
- Upgrading to a modern design
- Replacing a damaged sink
- Installing a touchless or pull-down faucet
Before purchasing a replacement, make sure the new faucet matches your sink’s mounting holes.
Tools You’ll Need
Gather everything before starting the project.
You’ll typically need:
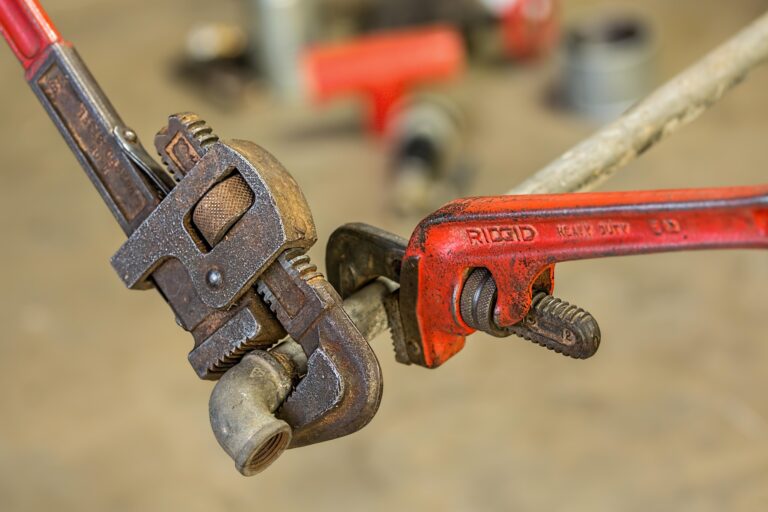
- Adjustable wrench
- Basin wrench
- Bucket
- Towels or rags
- Flashlight
- Phillips and flathead screwdrivers
- Penetrating oil
- Utility knife
- Safety gloves
Having all tools within reach makes the process much smoother, especially when working inside the cabinet under the sink.
Step 1: Turn Off the Water Supply
Locate the hot and cold shut-off valves beneath the sink.
Turn both valves clockwise until they stop.
Next:
- Turn on the faucet.
- Let the remaining water drain.
- Place a bucket underneath the supply lines to catch any leftover water.
Never skip this step. Working on a pressurized water line can create a significant mess.
Step 2: Disconnect the Water Supply Lines
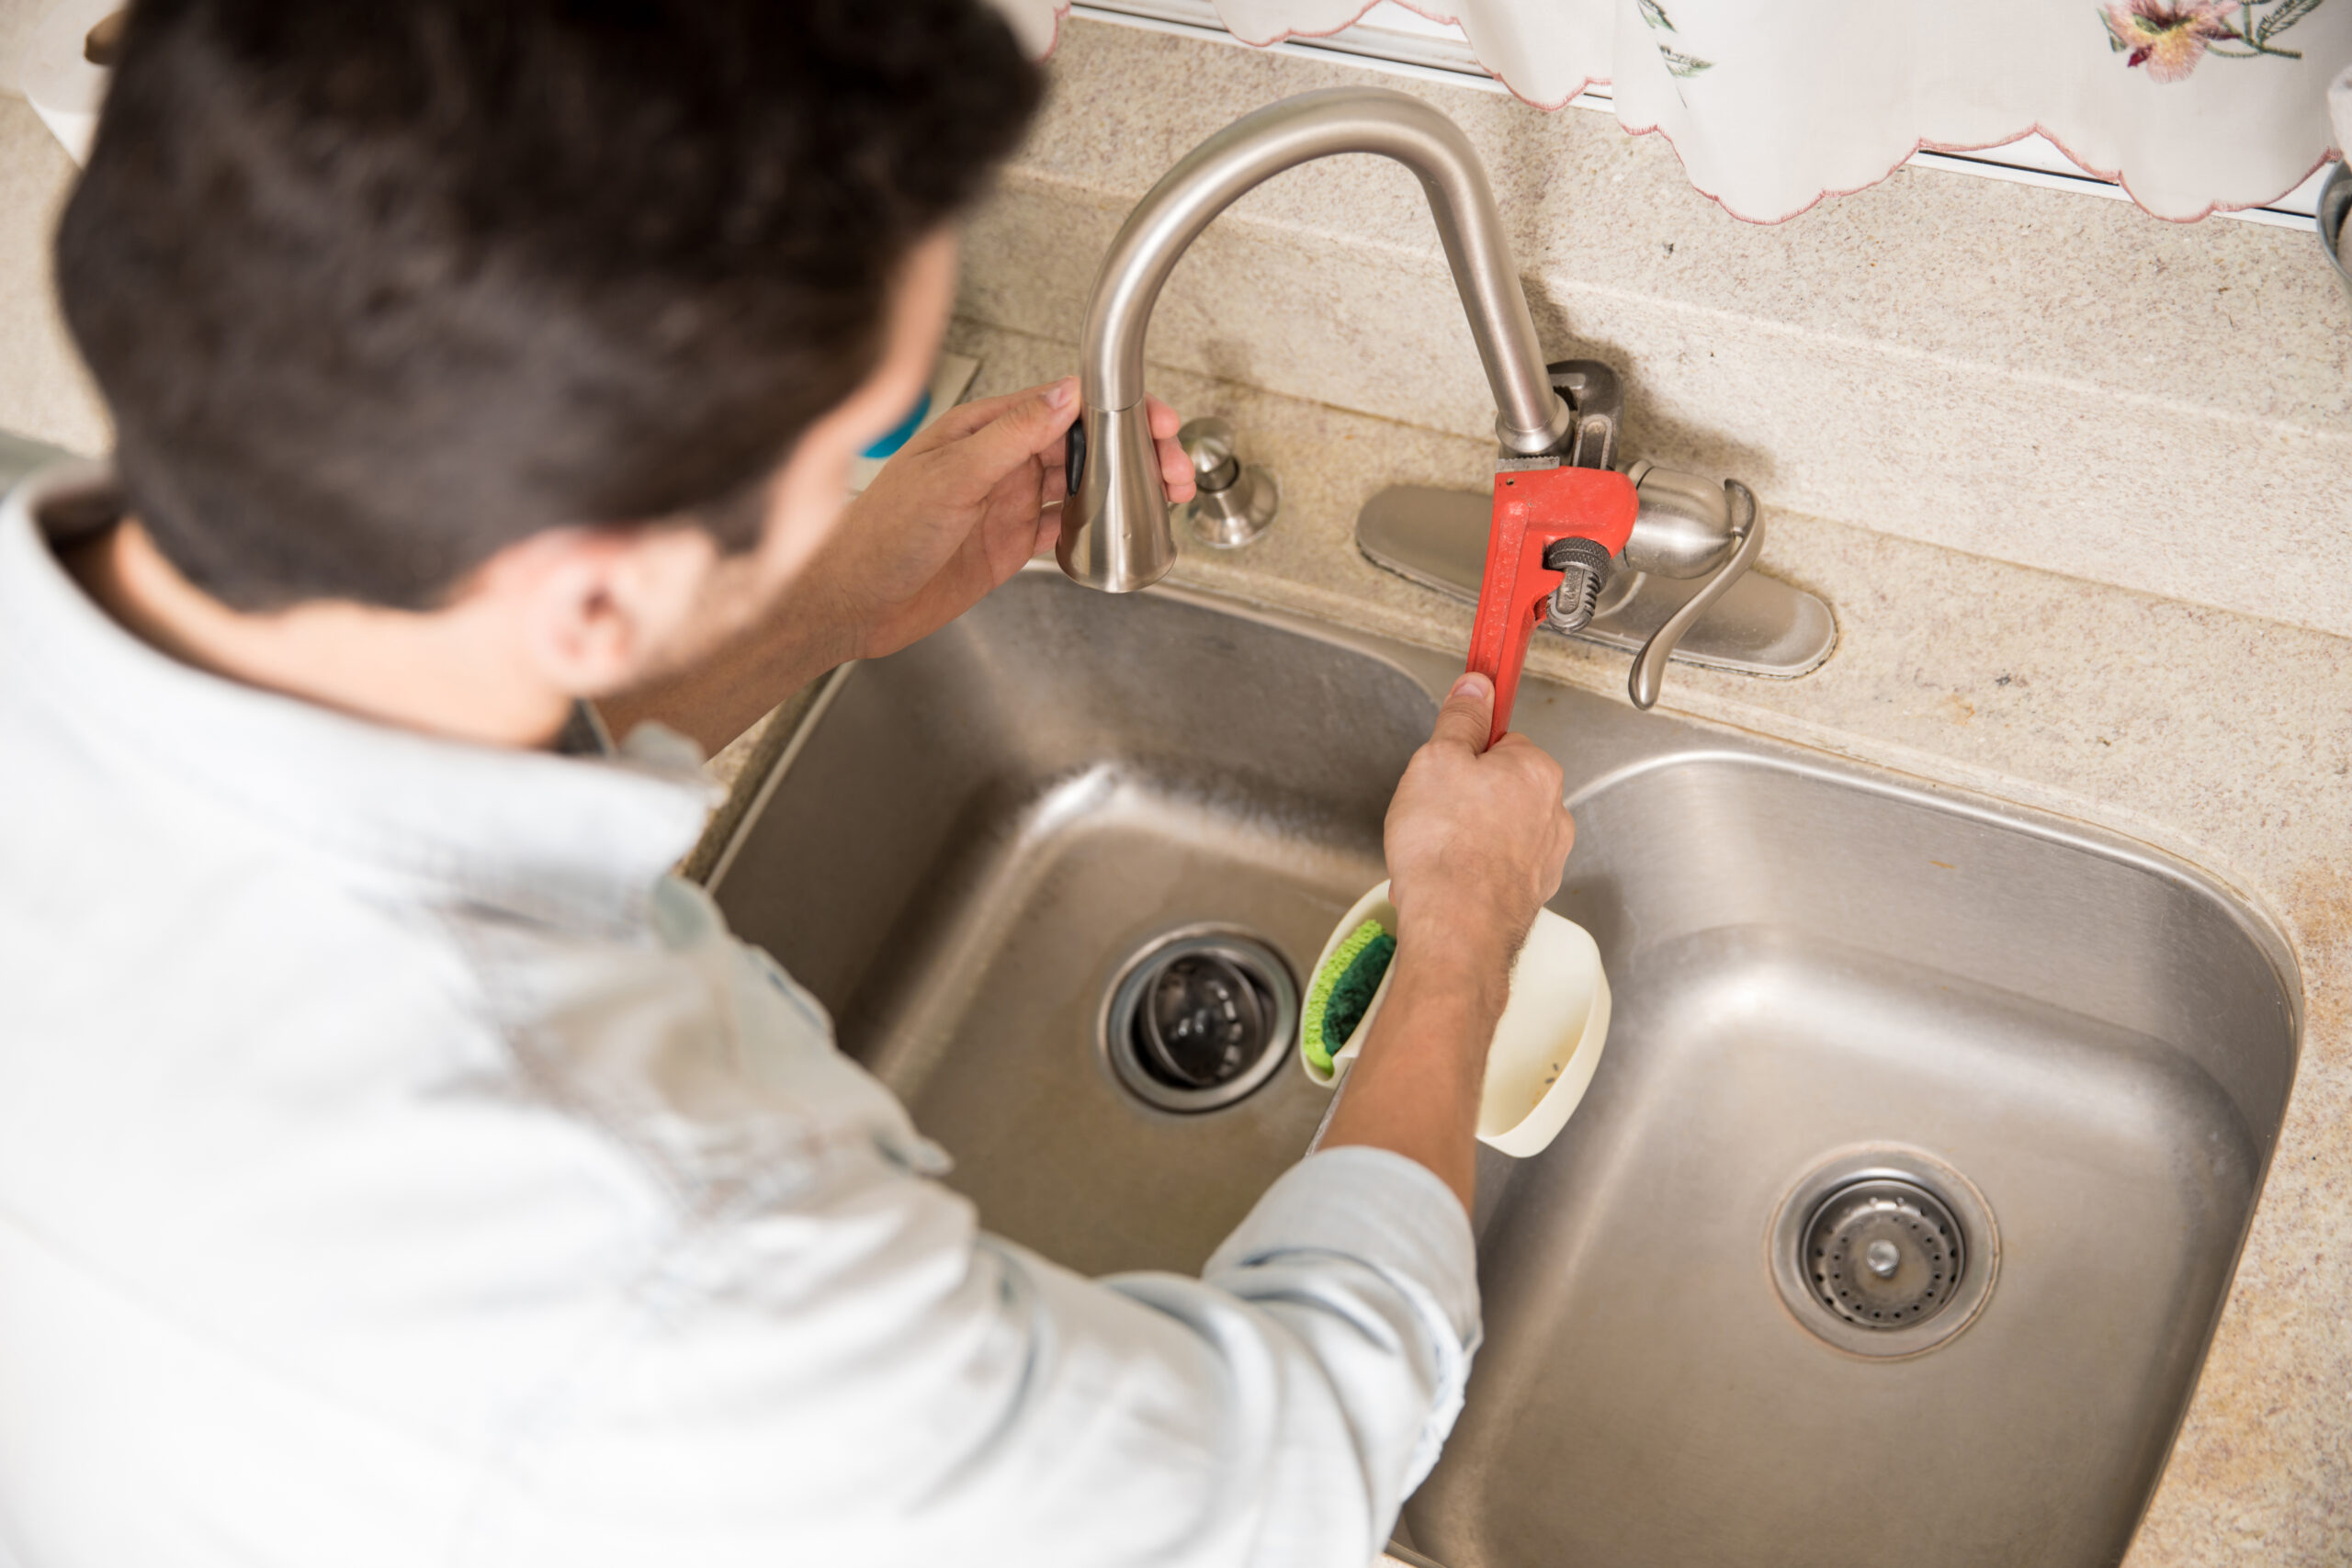
Use an adjustable wrench to loosen the nuts connecting the water supply lines to the shut-off valves.
Some water may spill out, which is completely normal.
If the fittings are difficult to loosen, avoid forcing them. A small amount of penetrating oil can help break years of mineral buildup.
Step 3: Remove the Faucet Mounting Nuts
This is often the most difficult part of the entire project.
The mounting nuts are located underneath the sink and hold the faucet securely in place.
A basin wrench is the ideal tool because it easily reaches tight spaces.
Turn each mounting nut counterclockwise until it comes free.
If corrosion has locked the nuts in place:
- Apply penetrating oil.
- Wait 10–15 minutes.
- Try loosening them again.
Patience is much better than applying excessive force that could damage the sink.
Step 4: Disconnect Extra Connections
Modern faucets may include additional features such as:
- Pull-down spray hoses
- Soap dispensers
- Water filtration systems
- Touchless sensor wiring
Disconnect these carefully before lifting the faucet.
Take a quick photo beforehand if you’re planning to reconnect similar components later.
Step 5: Lift the Faucet Out
Once every mounting nut and connection has been removed, gently lift the faucet from the top of the sink.
If it feels stuck, old plumber’s putty or silicone may still be holding it.
Use a utility knife to carefully cut around the base without scratching the sink surface.
The faucet should lift out easily afterward.
Step 6: Clean the Sink Surface
After removing the faucet, you’ll likely notice:
- Mineral deposits
- Old silicone
- Plumber’s putty
- Dirt buildup
Clean the mounting area thoroughly before installing a replacement.
A clean surface creates a better seal and helps prevent future leaks.
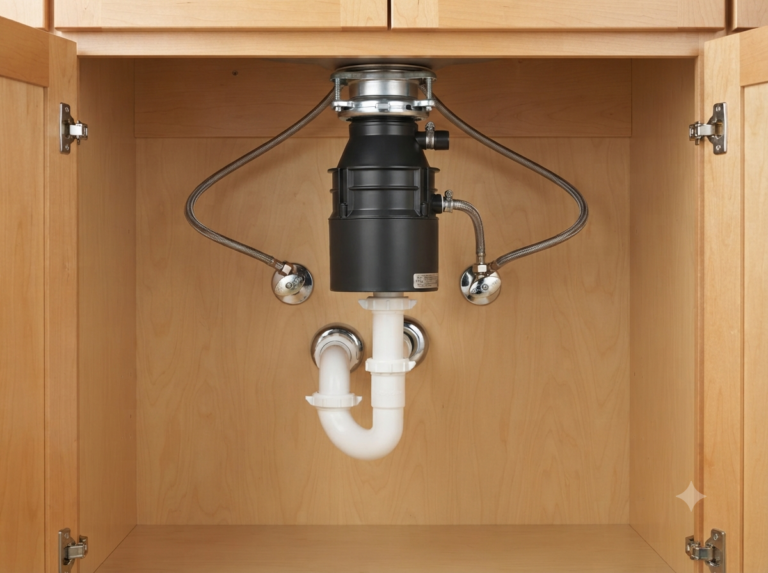
If you’re planning to install kitchen sink plumbing after replacing the faucet, taking time to clean the area now will make the installation process much easier and ensure all components fit properly.
Common Problems When Removing a Kitchen Faucet
Sometimes the project doesn’t go as smoothly as expected.
Rusted Mounting Nuts
Older faucets often develop rust or mineral deposits.
Solutions include:
- Penetrating lubricant
- Basin wrench
- Locking pliers
- Gentle tapping to loosen corrosion
Avoid cutting the hardware unless absolutely necessary.
Limited Space Under the Sink
Kitchen cabinets rarely provide much room to work.
A headlamp or bright flashlight makes a huge difference when working in tight spaces.
Stuck Faucet Base
Old sealant can firmly bond the faucet to the sink.
Carefully work around the base with a plastic scraper or utility knife until it releases.
Never pry aggressively against porcelain or stainless steel sinks.
Should You Replace the Supply Lines?
Many plumbers recommend replacing flexible supply lines whenever installing a new faucet.
Older supply hoses can become brittle over time.
Replacing them during the same project reduces the chance of leaks later and costs very little compared to repairing water damage.
Inspect the Plumbing While Everything Is Accessible
With the faucet removed, it’s the perfect opportunity to inspect the plumbing underneath the sink.
Look for:
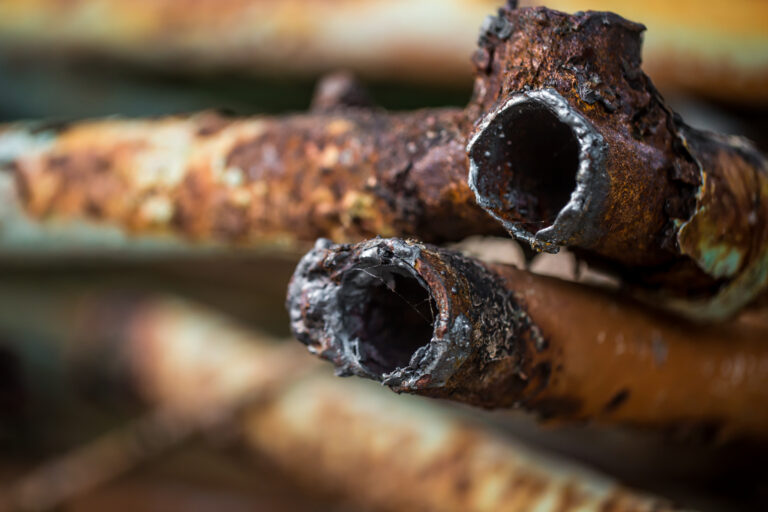
- Corrosion
- Loose fittings
- Water stains
- Mold
- Damaged shut-off valves
You may also notice early signs that indicate potential pinhole leaks in copper plumbing. Identifying these warning signs before installing a new faucet can help prevent expensive repairs later.
Tips for an Easier Installation Later
Before installing your new faucet:
- Read the manufacturer’s instructions.
- Verify the mounting hole configuration.
- Replace worn rubber washers.
- Tighten fittings evenly.
- Avoid overtightening plastic parts.
Small details during installation can greatly improve the lifespan of the new fixture.
Safety Tips
Although removing a kitchen faucet is generally considered a beginner-friendly project, safety should always come first.
Keep these recommendations in mind:
- Wear gloves when handling metal parts.
- Shut off water completely.
- Protect your eyes from falling debris.
- Keep electrical outlets dry.
- Use the correct tool for every connection.
Working carefully helps avoid injuries and unnecessary plumbing damage.
When to Call a Professional
Some situations may require professional assistance.
Consider hiring a plumber if:
- Shut-off valves no longer work.
- Pipes are severely corroded.
- The faucet is welded by years of mineral buildup.
- You discover hidden water damage.
- Supply lines begin leaking after removal.
Professional help may cost more upfront but can prevent much larger repair expenses.
Keeping Your New Faucet in Great Condition
Once the replacement faucet is installed, a few simple maintenance habits can extend its lifespan.
Regularly:
- Wipe away hard water deposits.
- Check supply line connections.
- Tighten loose handles.
- Clean the aerator every few months.
- Inspect underneath the sink for small leaks.
These simple habits also help maintain home plumbing systems by catching minor issues before they develop into major repairs.
Final Thoughts
Learning how to remove a kitchen faucet is a valuable DIY skill that can save money and make future kitchen upgrades much easier. With the right tools, careful preparation, and a step-by-step approach, most homeowners can complete the project in a couple of hours.
Take your time, avoid forcing stuck parts, and inspect the surrounding plumbing while everything is exposed. Whether you’re replacing an outdated fixture or preparing for a complete sink renovation, removing a kitchen faucet correctly creates the foundation for a successful installation and a leak-free kitchen for years to come.